Table of Contents
Howto establish a VPN (Virtual Private Network) connection to the ETH campus network from a Windows computer
This quick guide shows you how to connect to the ETH campus network using VPN (Virtual Private Network) from a Windows computer. This is needful if you want to connect ETH network services from computers that are not located on the ETH campus.
Situations when you need to establish a VPN Tunnel prior the network access
- This can be your personal laptop connected to your internet connection at home.
- You are staying in a hotel and need to access a service within the ETH network by connecting your laptop to the WIFI network of the hotel.
- For some services it can also be necessary to connect with VPN, when you are connected to a guest network somewhere else at ETH other than your institute.
- The decision, when and if you need to establish a VPN tunnel should also be found within the documentation of the specific network service. If you are unsure ask your local IT specialist.
rule of thumb: If you need to connect a network service or resources from a machine different from your usual office computer or when you are connected to the internet by a cable or WIFI at another institute, university or at home ☛ establish a VPN tunnel
Prepare your computer for VPN connection
If you want to connect your computer to the ETH virtual private network for the first time (or in case your computer has been replaced or re-installed) follow these few steps:
- Connect your laptop to the internet by either cable or WIFI network. (This can also be outside of the ETH campus)
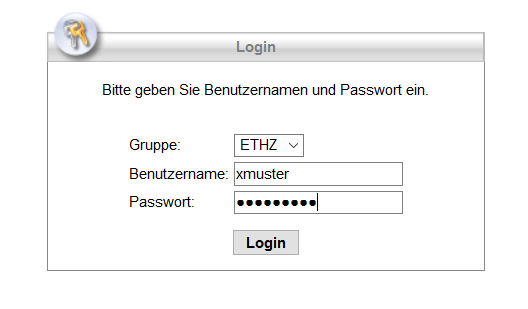
- Open your web browser (IE, Firefox, Chrome) and visit the site https://sslvpn.ethz.ch/
- Enter your NETHZ username and password to the logon fields and click Login
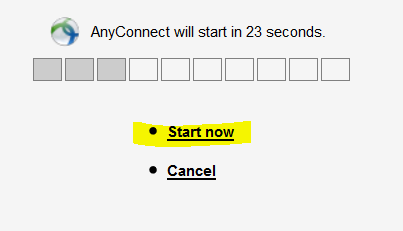
- Click start now…
- Click Windows Desktop…
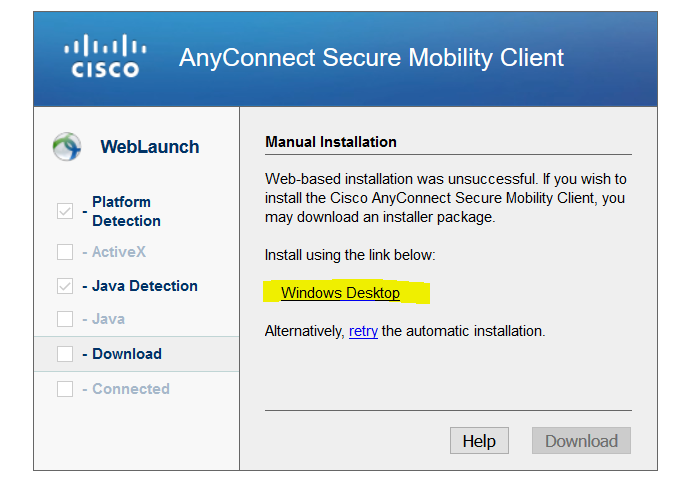
- Now a download dialog should appear and you will be asked to save the file anyconnect-win-3.1-web-deploy-k9.exe(If the version number in the file name differs, this is ok, it should at least be higher)
- Save the file to a location i.e. your Desktop. If your browser gives you the option to just Run the file, choose this option and confirm the warnings about running an executable from within the web browser
- If you've saved the file on your computer's Desktop navigate to it and double click the file
- You may be asked for administrative rights, please confirm it or enter the username and password for your administrator account
- Now you will be guided trough the installation of Cisco AnyConnect Secure Mobile Client. You can just choose the standard options and click Next > multiple times and finally Finish.
- Now Cisco AnyConnect Secure Mobile Client has been installed
Howto connect to the Virtual Private Network (VPN)
After you have installed the Cisco AnyConnect Secure Mobile Client as described in the previous chapter you can always follow this few steps to etablish the VPN connection:
- Open the Cisco AnyConnect Secure Mobile Client by either navigate to it within your Start Menu or enter Cisco to the search box within your Star Menu and find it in the search result list in the Star Menu.
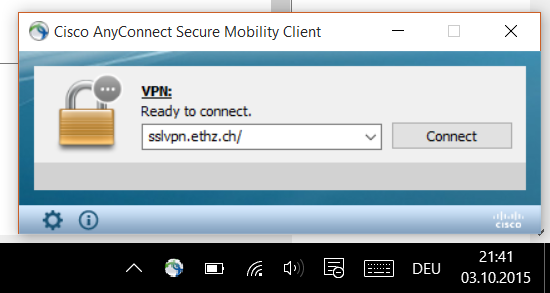
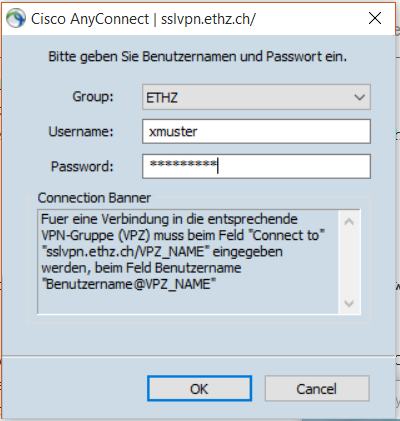
- After you have started Cisco AnyConnect Secure Mobile Client the following window will be presented to you. In case the text field is empty, please insert
sslpvn.ethz.ch. Click Connect.
- Now enter your NETHZ unsername and password and click Ok
- Now you are connected.
You can always check the state of the connection by examining the Cisco AnyConnect Secure Mobile Client icon in your system tray (Next to the Clock at the bottom right corner of your screen). If it is decorated with a little lock, the VPN tunnel is up. If it shows only a globe like symbol it is not connected. In the second case you can just click on the icon and the logon process starts.
| connected: |  |
| disconnected: |  |